|
Snowmen Ideas

This
photo is a sample of the September Block. See below for information
on how to make the Snowman Block for January!
I have
had so many requests for special directions and patterns for the
"Monthly Blocks" that I am going to be making these available to
those who are interested in purchasing this resource. You will be
provided with full colored pictures, patterns and detailed
directions. There is a different character for each of the months
from September through May.
An on line link will be
provided to access the directions and patterns. Please make
sure you provide the correct email address for me to be able to send
you this link. There are no shipping charges since this is a
digital link. You will be able to start your projects as soon
as you receive this link.
The
blocks that the children make use a 2x4x6 inch piece of wood. They
last forever and will be a family treasure for many, many years to
come. Many parents tell me that they still have all of the blocks
and use them each year! You could also use these blocks for your
Cub Scouts or Brownies. The whole year of crafts!
You will receive photos and detailed directions to make the
following:
September—Apple man ( see sample)
October
Pumpkin man
November
Turkey
December
Reindeer
January
Snowman
February
2 different blocks for Feb--Cupid and Abe Lincoln
March
Leprechaun
April
Bunny
May Bee
This is a great time to get
started. I will provide the link for you as soon as I receive
payment for you to be able to get started right away on your monthly
blocks.
The cost will be $14.99 with no shipping charges.
If you
would like to pay with a credit card, click below on the link. If
you would like to pay by check, please let me by email.
**Please make sure that your
email is set up to receive emails or check your "junk" box. I send the
link within 24 hours after payment is received. You can email me at
lcritchell@kinderteacher.com if you have any questions.
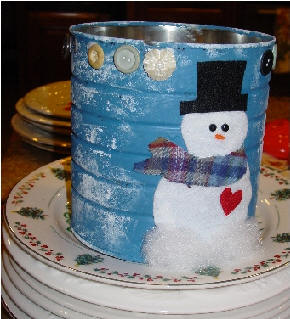
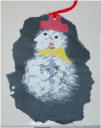
Snowman Cans
We made these snowman cans to hold the
ornaments that we made at school. But, you could use them for pine
cones or many other things. Or, they can be done anytime for a
winter project. The close-up picture here does not have
the handle attached yet. This was the sample that I made at home.
However, the children were very successful and all were their own
creations. This was done in small steps. The 3 pound coffee cans
were drilled by a parent and the electrical wire was plastic covered.
1. We used a small sponge to put the
blue, acrylic paint on the can and let it dry.
2. White acrylic paint for the
snow. They needed to be supervised to use just a little paint.
3. We gave the children a white
piece of paper the correct size and asked them to make a snowman
that size. They tend to make it too small. The directions were
to fill the whole paper. I think that it is better to ask them to
only make two circles so that the head isn't so small!
We used their pattern to cut the white piece of felt for their snowman.
The felt was too difficult for them to cut, but each snowman was
different. White glue was used to glue everything on the can.
4. The same method was used for
the hats. They made a pattern and we cut the felt.
5. We helped with the scarves, but
they added all of the other details. We bought small beads for the eyes
and very tiny beads for the mouth. Small pieces of orange fun foam
was cut for the nose. Polyester batting was used at the bottom of
the can.
We did not have the children put buttons
around the top since we had trouble getting them to stick to the metal
cans. .
Click on the photos below to
enlarge.
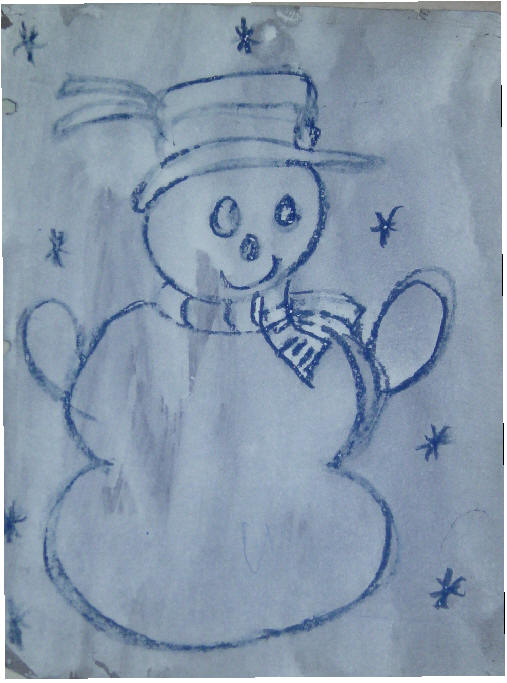
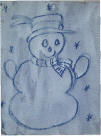
Crayon Resist Snowman
This snowman was done on blue
construction paper. A blue crayon was used on the blue paper
to draw the snowman. Tempera paint was thinned down with water
to do a wash over the snowman. You can use any color of paper,
but you need to use the same color crayon as the paper-- Red
paper and red crayon, etc.
Please click on the snowman below for
other snowman ideas listed on the December page.
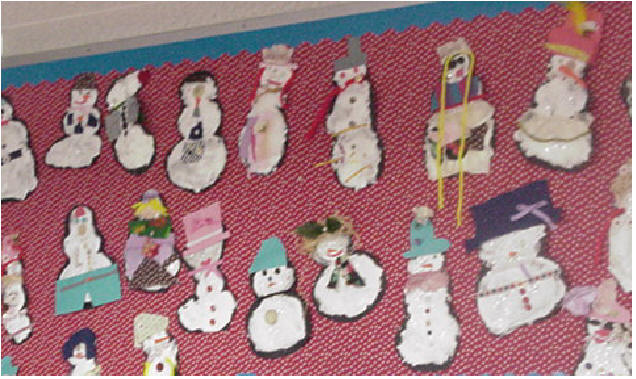
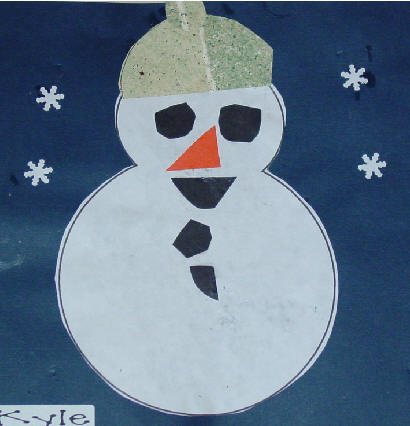
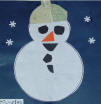
Sponge Painted Snowmen
 Each
child was given a 9x12 inch piece of black construction paper.
We asked them to draw two connecting circles--one smaller one for
the head and a larger one for the body. Then we gave them
thin, white tempera paint with a small piece of a sponge.
They were instructed to paint the circles only! It is hard for
them to stop painting. The next day we added the face, hat,
scarf and buttons. We helped each student to tear the outside
of the black construction paper. These are great to hang
or put up on the bulletin board. Each
child was given a 9x12 inch piece of black construction paper.
We asked them to draw two connecting circles--one smaller one for
the head and a larger one for the body. Then we gave them
thin, white tempera paint with a small piece of a sponge.
They were instructed to paint the circles only! It is hard for
them to stop painting. The next day we added the face, hat,
scarf and buttons. We helped each student to tear the outside
of the black construction paper. These are great to hang
or put up on the bulletin board.
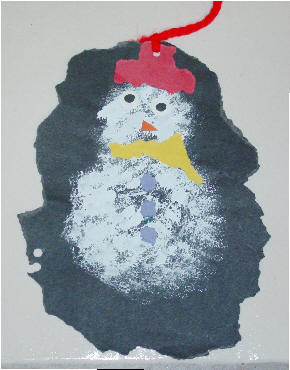
Shaving Cream and Glue Snowman
These snowmen were made with a
combination of shaving cream and white glue. We started with
an outline of a snowman that was the children drew on a piece of
black construction paper. Then, each child was given a
Styrofoam cup with a "squirt of shaving cream" and about a
tablespoon of white glue with a wooden craft stick to stir. We
didn't measure the amounts and it seemed to work fine. They
used the stick to spoon the shaving cream mixture on the snowman
outline. We allowed them to dry for several days before using
p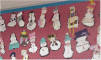 aper,
fabric and misc. things to decorate our snowmen. The teacher cut
around each snowman. It is difficult to see from the photo
that the snowman has a 3 D effect. aper,
fabric and misc. things to decorate our snowmen. The teacher cut
around each snowman. It is difficult to see from the photo
that the snowman has a 3 D effect.
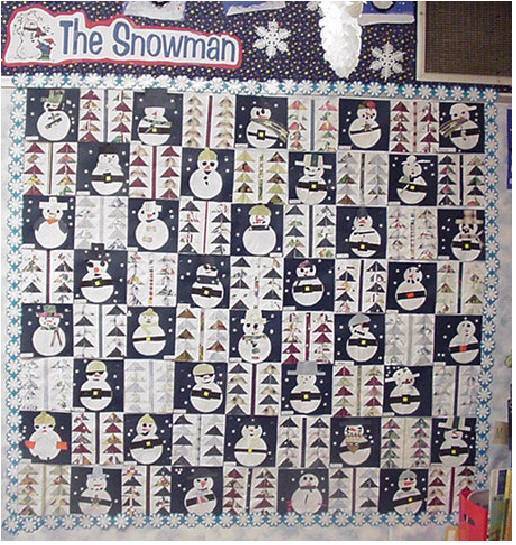
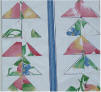
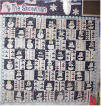 Snowman Quilt
The idea for this quilt was taken from
Easy Literature-Based
Quilts Around the Year by Mariann Cigrand. We read the
book, The Snowman before making the quilt. The patterns
are included in the book for the two quilt blocks. We
used wallpaper scraps for the block with the triangles. The
children decorated their snowman with their own ideas. The
snowflakes were small stickers that were added.


Copyright © 2003 by
Kinderteacher.com All rights reserved.
|