|
Pumpkin Science
October is a great time to introduce plants and seeds with our visit to the pumpkin patch. We like to do several activities with the children if there is time. There are always so many things to cover in October, but the following are few of our favorites.
Parts of a Seed This project shows the parts of a lima bean seed.
Plant Book This is a cute little book with a poem to teach how seeds grow into plants. This can be done on half sheets or whole sheets of paper and bound into a book.
Page One: I'll plant a little seed in the dark, dark ground. Each student illustrates the page with a seed in the ground.
Page Two: Out comes the yellow sun, Each student illustrates this page with a big yellow sun.
Page Three: Down comes the cool rain, Raindrops are drawn all over the page and glitter used to outline the drops.
Page Four: Out comes the little plant, Any kind of plant can be drawn or a pumpkin! We encourage them to draw the plant showing the roots, too.
Life Cycle of a Pumpkin
This was an idea that I found somewhere on the web and I wish I knew where to give credit to that person. We started with two pumpkins. They made a green or brown stem. Then the two pumpkins were stapled together all around, but a large pocket opening was left on the right side for the pieces to be stuffed inside! The children cut the jack-o-lantern face from black construction paper and decorated it one day. The next day we cut out all the pieces for the cycle----manila colored seed, green leaf, yellow flower, green pumpkin and last the orange pumpkin. The pieces were stapled to a piece of green yarn and then stapled to the inside of the jack-o-lantern. The children were able to visualize that a jack-o-lantern starts as a seed and goes through the cycle before the orange pumpkin!
|

 reproduce. The
embryo is sandwiched between the two seed coats to show all of the parts
of the seed. They are held together with a paper fastener or can be
stapled.
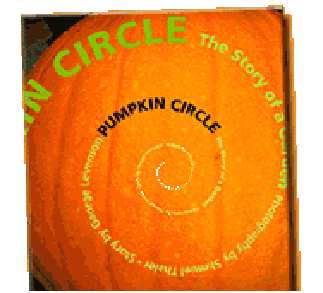
 A great book that we have used is Pumpkin Circle by George Levenson.
This is available at bookstores and on line at


