Halloween Art

>

Skeleton Activities


During the month of October, we like to include a short mini-unit on Skeletons.  We have a "real"         skeleton that we borrow from our media center.  We call him, Harry the Skeleton.  There are several good books for K students on skeletons.  We also sing the song "Dem Bones and read the book by the same title." 

This is a picture of the  skeleton art project that we made last year.   This idea also came from my friend, Kerry.  I think it was given to her by someone on the web.  It takes quite a bit of time, but they were worth it!

Head-- pattern

Body --egg carton that was painted white

Hands--hand prints using white paint on black construction paper.  Teacher cut around when dry.

Feet---footprints using white paint on black construction paper.  Teacher cut around feet when dry.

Arms--    Two strips of white paper  18 x 1 1/2".   I used adding machine tape to avoid having to cut long strips of butcher paper.   These were folded in what we call cat steps.  The two strips of paper are glued together at one end (perpendicular at 90 degree angle) and the strips folded over each other and the next strip on top of that.   Continue folding until the end of the strip.  Put one dot of glue on the end to hold it. 

Legs--Two strips of paper that has been cut 36 x 1 1/2 inches wide.  Fold paper as directed above.

Paper Bag Bats

Another short mini-unit that we like to include in October is bats.  We read books on mammals and discuss the groups of animals. 

These bats were made using black, party type  paper bags.  You could paint regular, brown lunch bags black.  Wings and other features were added to make the bats. 

We ran out of room to display our bats and put them on our closet doors.


Math Activity

The paper plate in the background was a math activity we did to demonstrate how many insects a bat can eat each day.  I made a worksheet with 100 insects on the page.  The worksheet had 10 rows and ten column of insects.  The children worked in teams to cut all of the insects apart and glue on the paper plates.


Halloween Cards

Ideas with photos and directions in PDF file are available in the October Ideas Package. 


Fall Tree

This tree was made with the help of a parent, Kim Krausert.  Thanks Kim!!  She drew the tree on a piece of brown butcher paper.  The leaves were made using Coloration Liquid Watercolor.  We used paper towels and had the children use eye droppers to drip different colors of the watercolor all over the paper towel.  They all had a great time discovering what colors they could make when two or three colors ran together.  After the towels were dry, hand prints were cut out to look like leaves.    Click on the photos to enlarge.


Spooky Door


Our Spooky Door was made with a teacher made haunted house.  Each child was asked to make a "very scary face!"  Then each picture was mounted on small pumpkin, bat and cat cutouts.  The cutouts were the size that you would use for calendars.  Then each picture was laminated and used in our spooky door decoration.  It is a little difficult to see with the reflection of the plastic on the house.  The kids loved looking at all of the very scary faces!


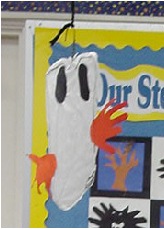
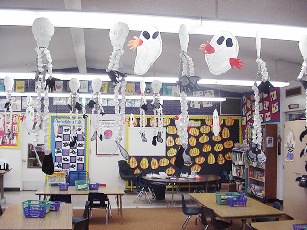
Tissue Paper Hanging Ghosts

The ghosts were hung with the skeletons for Halloween.   We used a coat hanger to make all different shapes for the ghosts.   This is a job for an adult!  Then the hanger was placed on top of a full sheet of white tissue paper.  A thick line of glue was applied all around the wire of the coat hanger.  Then another piece of tissue was placed on top of the coat hanger to "sandwich" the wire coat hanger between two sheets of tissue paper.  The children cut eyes from black construction paper and glued on the ghost.  Then they traced their hands using orange construction paper.  The hands were glued on at different places to make each ghost unique. 

Click pictures to enlarge photos.

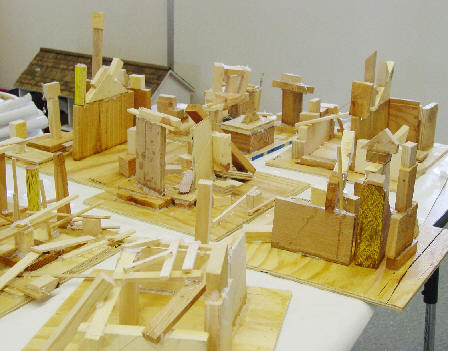
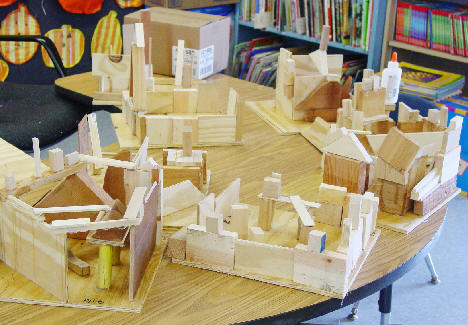
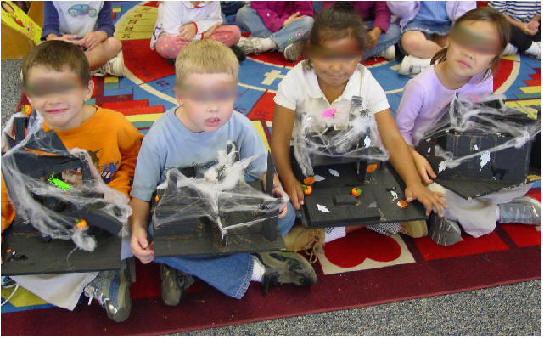
Wooden Haunted Houses

This is probably everyone's favorite Halloween project!  Parents save these and bring them out each year.  I still have children tell me years later that they have their Haunted House. 

I start early in October asking parents for scrap wood and someone to help us cut it into small pieces to construct the houses.  The triangles and odd shapes really look great, too!  A base is needed about 10-12 inches square.  I suggest using a very thin piece of wood since they are quite heavy. 

The children dip each piece of wood in a bowl of white glue.  Then a parent puts a dap of hot glue on the piece and places it where the child instructs them to put it.  The hot glue holds the piece until the white glue has a chance to set.  If you only use white glue, the house quickly falls apart!  

We make these as early in the morning (outside or in a place that they don't have to be moved.)  Just before I leave   school, I bring them inside. 

We paint the houses with black tempera.  Then we decorate with the fake spider's web, Halloween confetti pieces, etc.  You can also use white chalk to draw windows, doors, or creatures on the houses. 

Click on the photo to see a picture of the houses that have not been painted yet.


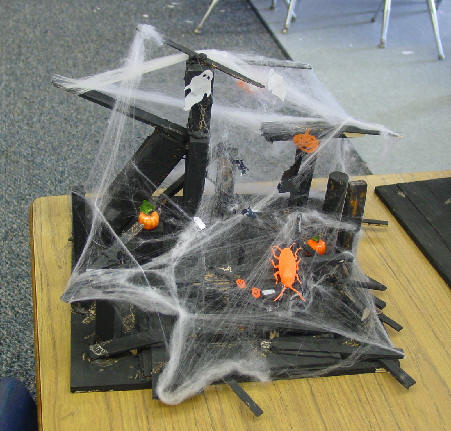
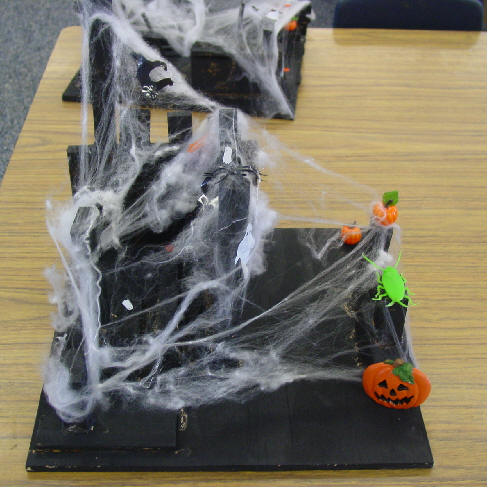
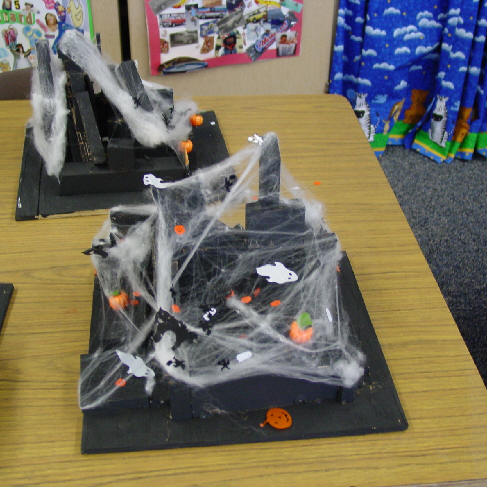
The pictures below are close up of the ones that we did this year..


Each house is very unique and make cute centerpieces.

Some of the children added some plastic spiders, etc.  The nice part is that everyone feels successful.


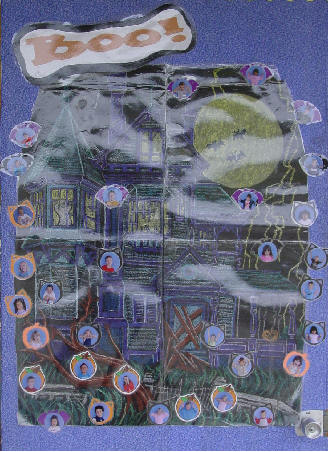
Haunted House Stories

After making our wooden haunted houses, we like to write stories.  This is a combination art and writing activity. 

An adult will need to cut these haunted houses out. The windows and doors were either cut out or flaps made to open. Yellow paper was glued behind the open windows and doors for the children to be able to draw their own "characters" for Halloween.  Click on picture.

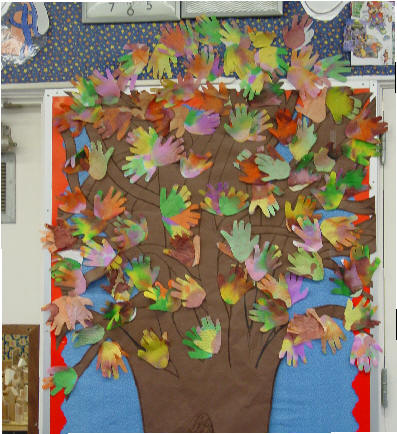
Stellaluna Quilt

The idea for this quilt was taken from Easy Literature-Based Quilts Around the Year by Mariann Cigrand. 

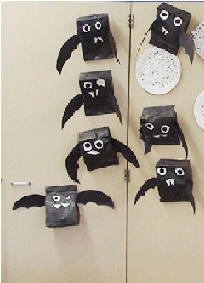
Ghost Art with a Tissue

Ghosts can also be made with a tissue glued down to a piece of black construction paper.  We used a paper punch for the eyes and buttons.
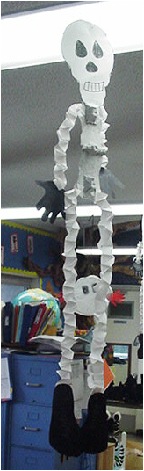